
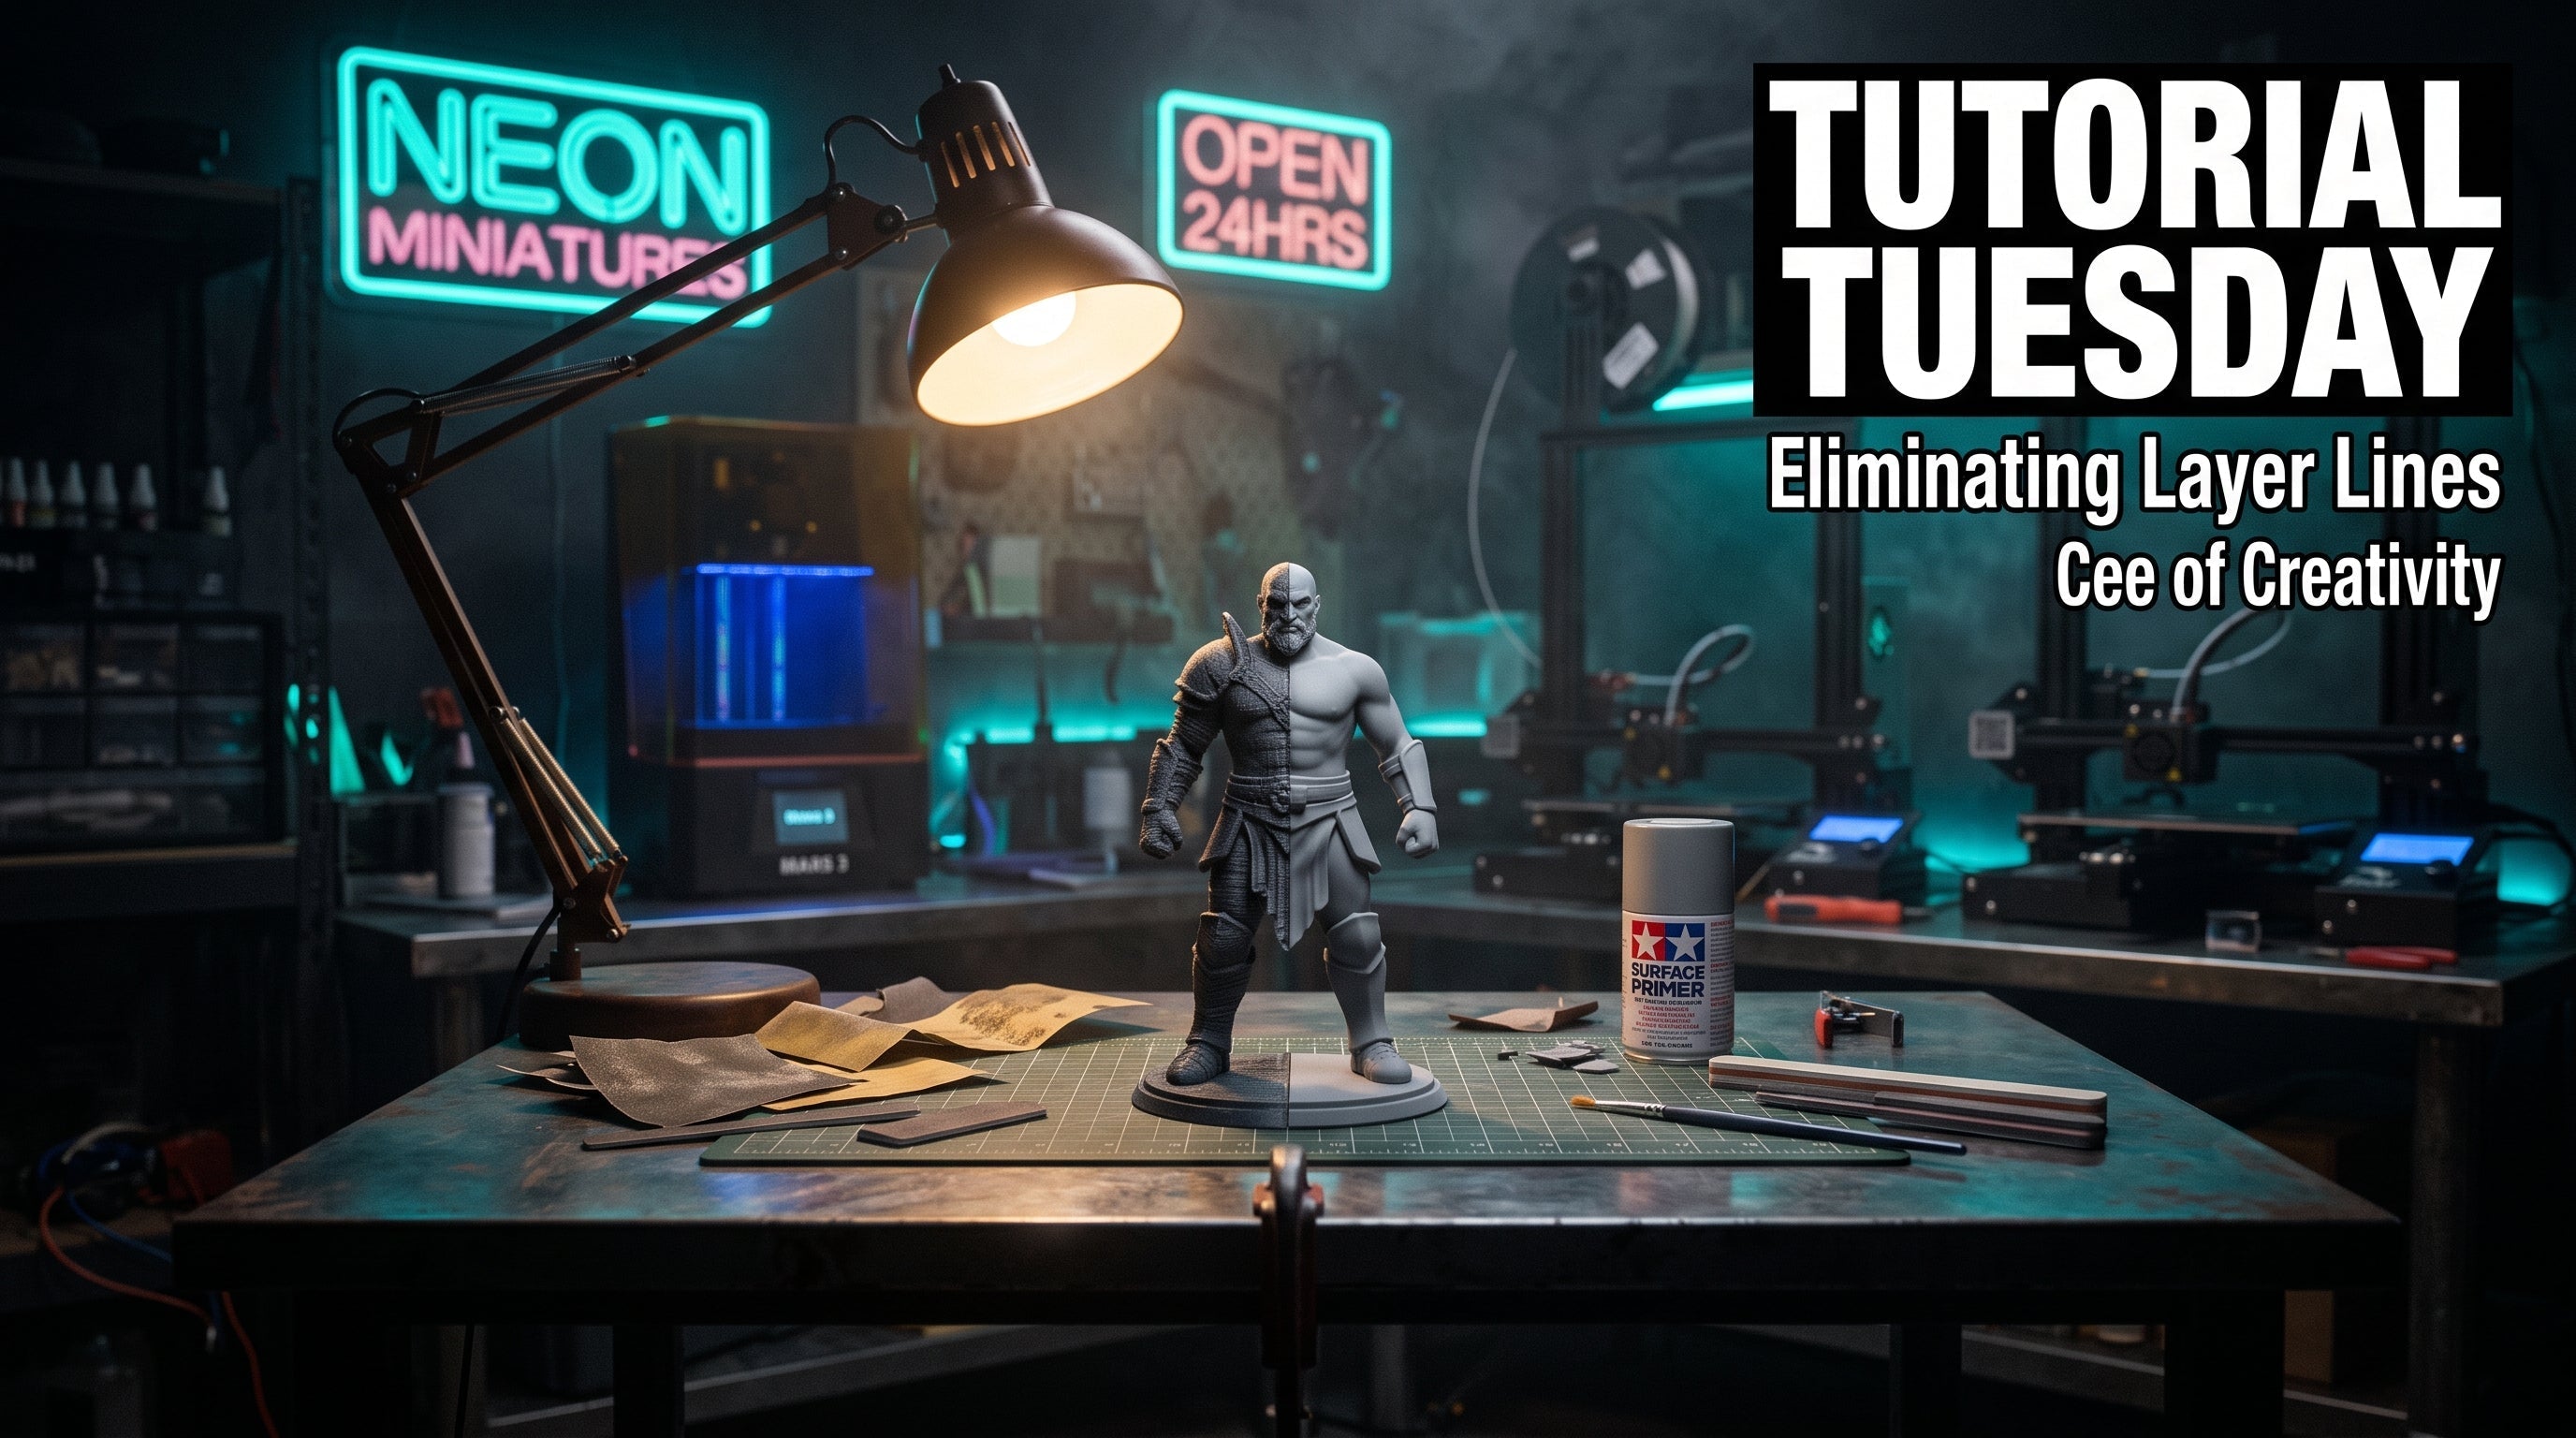
Layer lines are the first thing anyone notices on a print, whether it is sitting on my bench, heading out for a commission, or waiting for a coat of paint. They are also one of the easiest things to fix once you understand where they actually come from. Some of the fix happens in the slicer before you ever hit print, and the rest happens with a handful of cheap tools on your workbench. I use the same process whether a piece came off my Bambu X1C or one of my resin printers, so this works no matter what you are running. Here is how I take a print from visibly ridged to paint ready.
Start With the Slicer, Not the Sandpaper

Every layer line fix starts before the print even begins. Layer height is the biggest lever you have. Dropping from 0.20mm down to 0.12mm or 0.08mm cuts the height of each visible step dramatically, which is exactly what the comparison above shows. A good rule of thumb is keeping your layer height between a quarter and three quarters of your nozzle diameter, so a 0.4mm nozzle should stay in the 0.10mm to 0.30mm range for anything you plan to hand paint. On the slicer side, I also set my external fill pattern to concentric instead of the default, which follows the contour of the model instead of cutting across it, and I keep outer wall speed slower than infill speed so the nozzle has time to lay down a clean bead. On resin prints, orientation matters just as much as layer height. Angling a part instead of printing it flat against the build plate hides stepping on curved surfaces because the steps fall at an angle the eye reads as texture instead of ridges.
Sand in a Grit Progression

Once a print is off the plate, sanding does the heaviest lifting. I start at 320 grit to knock down the visible ridges, then move to 400, 600, and 800 before I even think about calling a surface smooth. Skipping grits is the number one reason sanding looks patchy instead of even, since each grit is there to erase the scratch pattern left by the one before it. On FDM prints I sand dry and wipe with a microfiber cloth between grits so I can actually see what is left. On resin prints I sand wet, dipping the sandpaper in a cup of water every few passes, which keeps the dust down and stops the paper from clogging with cured resin. A grit pack like this one covers the exact range I use for this stage. It is worth keeping a second, finer pack around 1000 to 2500 grit on hand too, for parts that are getting a glossy paint job instead of a matte one.
Fill Pinholes and Seam Lines With Glazing Putty

Sanding handles layer lines, but it will not fix pinholes, small gaps at a seam, or the little dimples that resin supports leave behind. For those, I reach for automotive glazing and spot putty. It goes on with a small applicator or an old credit card, dries fast, and sands flush with the surrounding surface in under an hour. I only use a thin skim coat since this stuff is meant to fill small imperfections, not rebuild a surface, and I always sand it back with the same grit progression I used on the rest of the piece so the filled spot does not stand out once primer goes on.
Seal the Surface With a Two-Part Epoxy Coat

For a piece that needs to look genuinely smooth under paint, like a display bust or a commission going out the door, I add a thin coat of two-part epoxy before priming. It self-levels as it cures, filling in whatever texture is left after sanding and giving primer something perfectly even to grip. Mix it in small batches since working time is short, brush on one thin layer, and give it the full cure time before you touch it or move to primer. This step is optional for a quick hobby print, but it is the difference between a good paint job and one that looks store bought.
Prime in Thin Coats Before You Paint

Primer is where every bit of prep work either pays off or gets exposed. I use a gray filler primer in several thin coats instead of one heavy pass, letting each coat flash dry for a few minutes before the next. Thin coats build up hiding power without pooling into any leftover texture, and the gray base makes it much easier to spot any layer lines or sanding marks you missed, since flat gray shows surface flaws that raw filament or resin color hides. If you spot a flaw at this stage, it is quick to sand it back and hit it with one more light coat before moving on to color.
Common Mistakes That Keep Layer Lines Visible
The most common mistake I see is jumping straight to a high grit, like starting at 800 instead of 320, which barely touches a visible ridge and wastes a lot of sandpaper. The second is sanding dry on resin prints, which gums up the paper with softened resin dust and leaves swirl marks instead of a clean surface. The third is spraying a full wet coat of primer straight out of the can, which is the fastest way to drown fine details and get runs on a miniature. The fourth is skipping orientation entirely and printing a curved surface flat against the bed, which guarantees visible stepping no matter how good your other settings are.
Cee's Pro Tip
Hold the piece up under a raking light, a lamp angled low across the surface instead of straight on, before you commit to paint. Raking light shows every ridge, sanding mark, and pinhole that flat overhead lighting hides completely, and it is the same trick I use before every commission goes out the door. If a surface passes the raking light test, it will look clean under any lighting a customer or a judge puts it under.
That's Tutorial Tuesday
Hope that levels up your next print. If you would rather we handle it, the studio does custom printing, painting, and engraving on the commission page. New tutorial next Tuesday.
Some links in this post are affiliate links. Prices stay the same for you, I earn a small commission if you buy through them.