
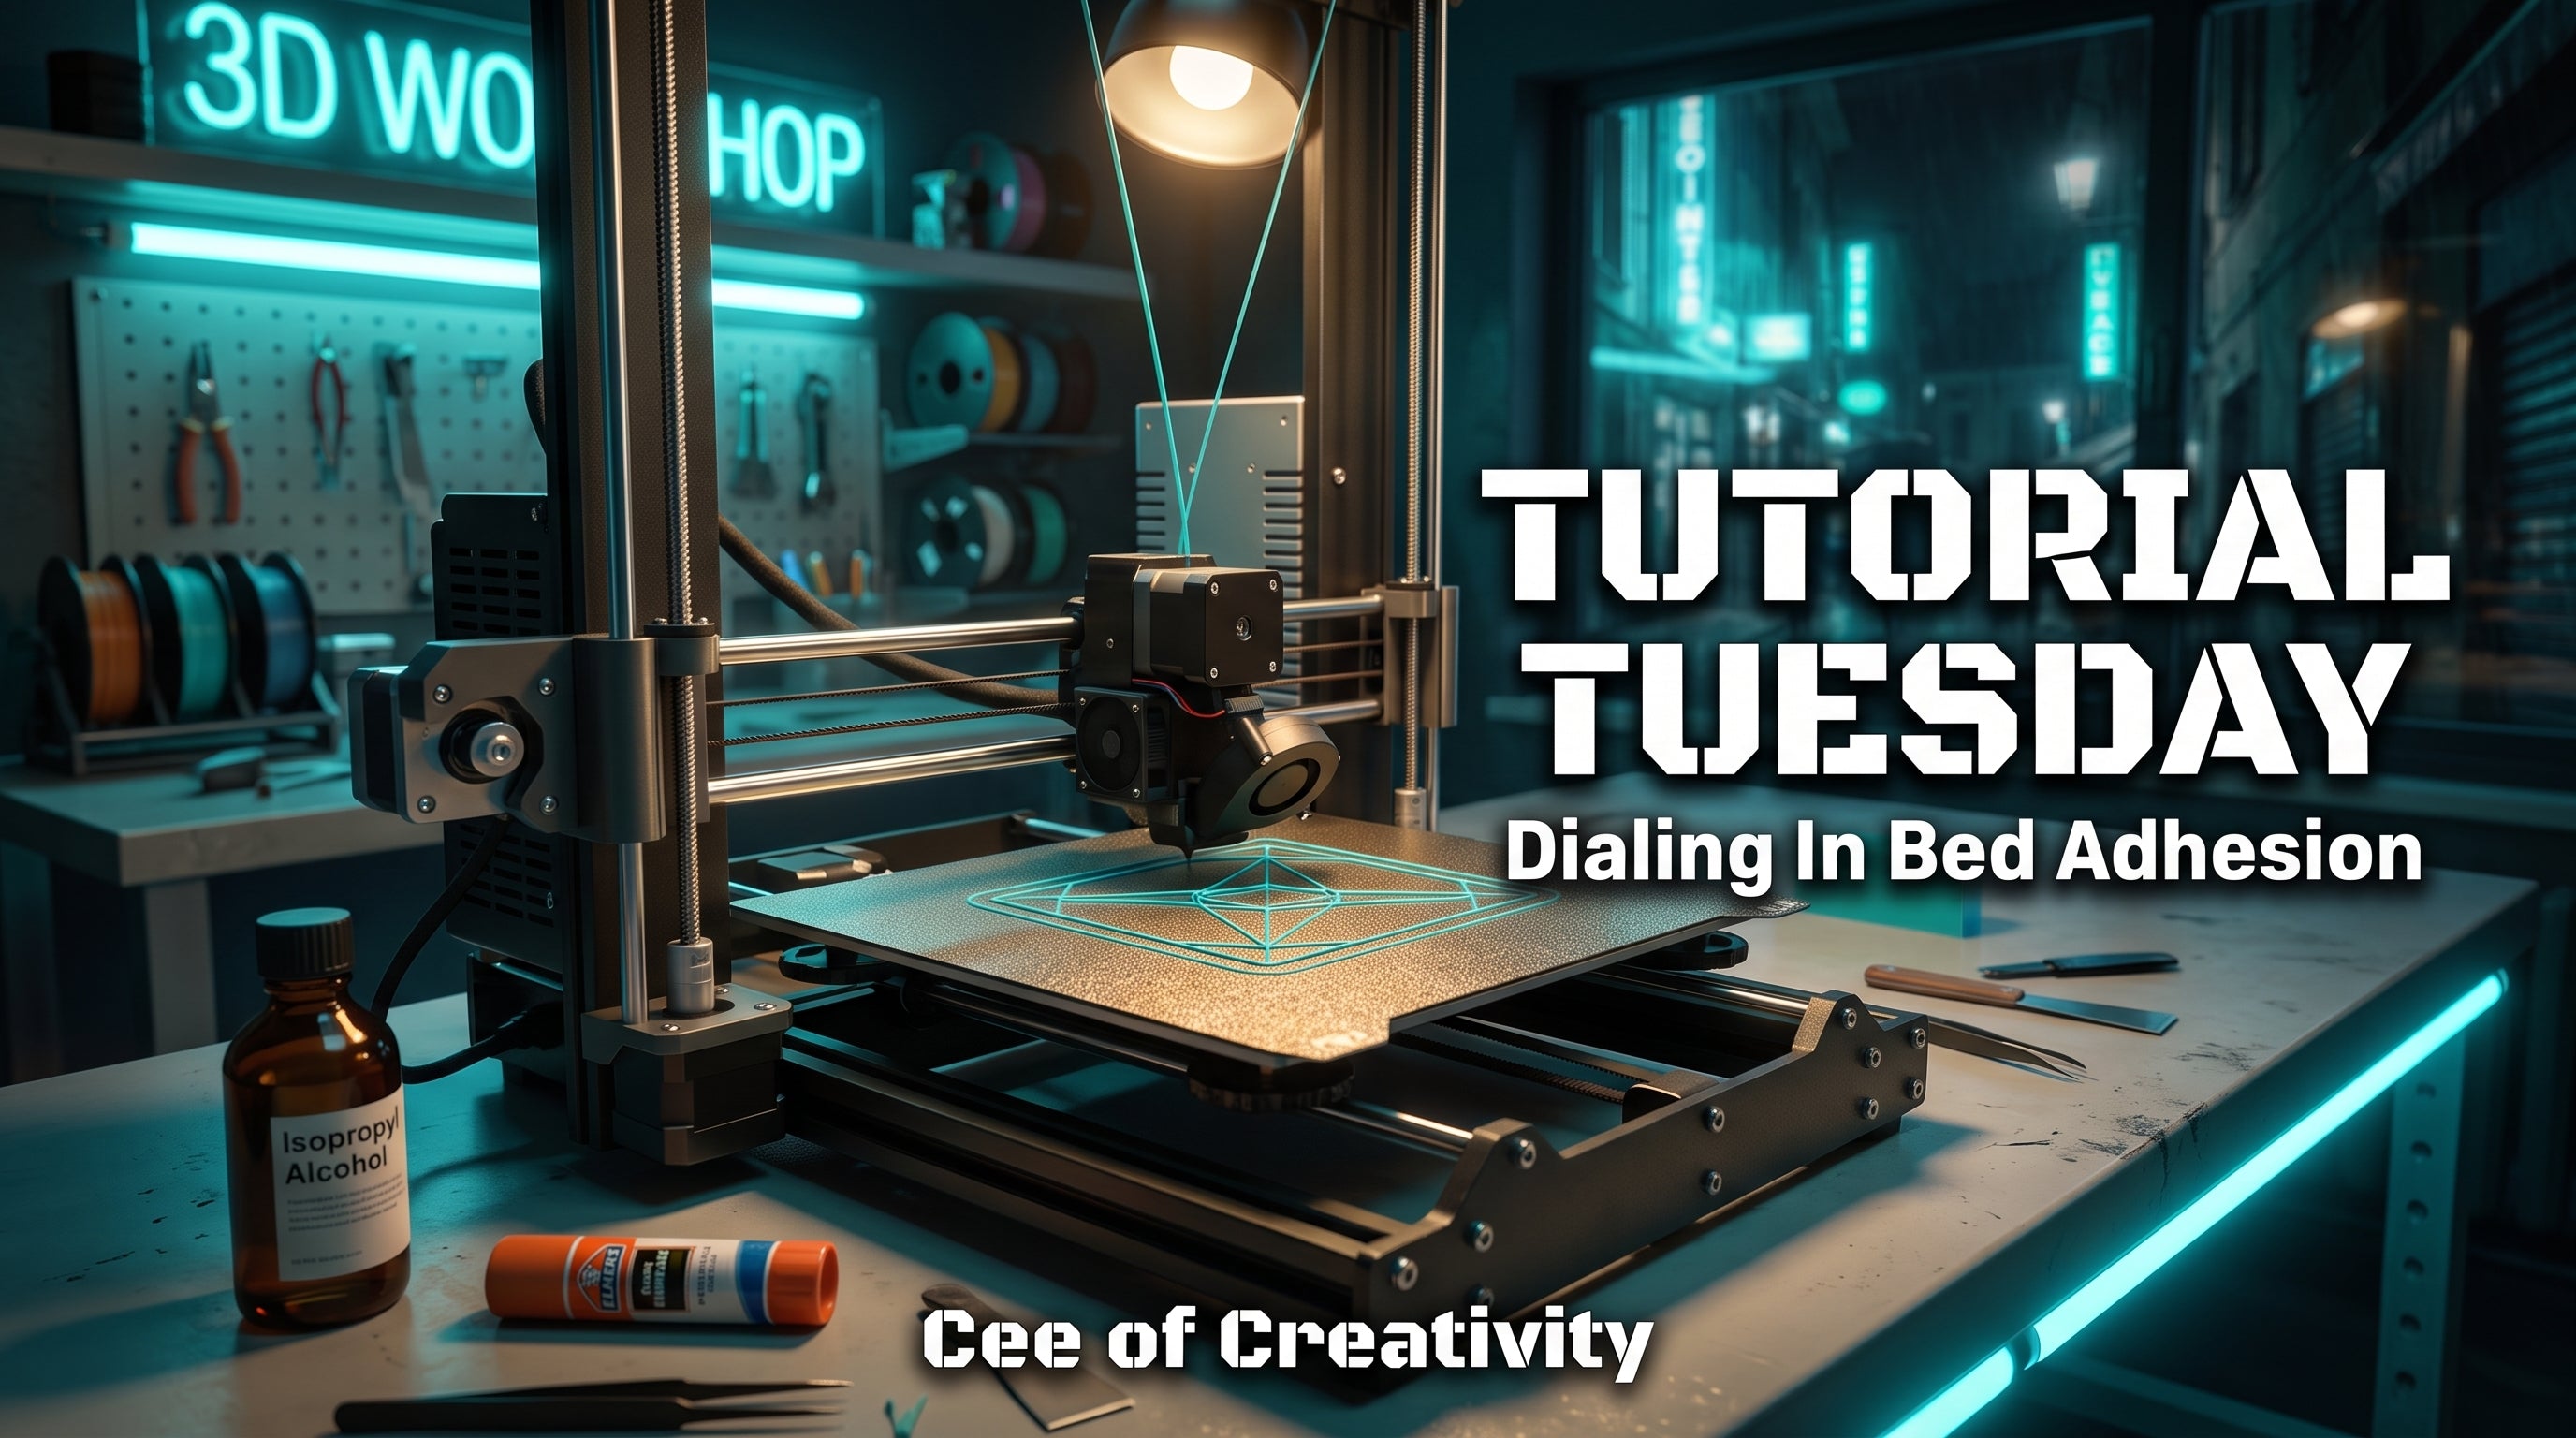
A failed first layer ruins the whole print, no matter how good your model or settings are. If plastic wont stick to the plate, or a print pops loose halfway through, everything after that first layer is wasted filament and time. Here is exactly how I dial in bed adhesion on my own printers so first layers stick every single time.
Step 1: Level the Bed Before You Touch Anything Else

Every adhesion problem I have ever chased turned out to be a leveling problem in disguise. If one corner of the bed sits closer to the nozzle than another, that corner gets over squished and the opposite corner barely touches the plate at all, so of course it lifts. Even printers with auto bed leveling still need a mechanically level bed underneath, because the mesh compensates for small variance, not a bed that is wildly out of square. I check all four corners plus the center with a feeler gauge, sliding a blade under the nozzle at each point and adjusting the bed screws until I feel the same light drag everywhere. A feeler gauge set gives you a repeatable number instead of guessing with a sheet of paper, and it is the same tool I use to sanity check auto leveling data when a print starts lifting for no obvious reason.
Step 2: Set the Z Offset So the Nozzle Just Kisses the Plate
Leveling gets the bed flat. Z offset gets the nozzle the right distance from that flat bed, and it is a separate setting that trips up almost every new printer owner. Too far away and the plastic comes out in thin, stringy lines that never bond. Too close and the nozzle scrapes the plate, thins the extrusion, and can even skip steps on the first few layers. I print a single layer test square and adjust the offset in tiny increments, usually 0.02mm at a time, until the line looks flat on top with the edges just slightly pressed and rounded, not round like a strand of spaghetti and not scraped thin. Do this test every time you swap nozzles, swap plates, or move the printer, because Z offset drifts more than people expect.
Step 3: Clean the Plate Before Every Single Print


This is the step people skip and then wonder why the exact same printer, the exact same settings, and the exact same filament suddenly refuse to stick. Finger oils from handling the plate are enough to kill adhesion on smooth PEI, and dust or old release agent will do the same on textured surfaces. I wipe the plate down with 99 percent isopropyl alcohol and a clean paper towel before every print that matters, not just when something goes wrong. Wear nitrile gloves while you do it so you are not putting fresh finger oil right back on the surface you just cleaned. It takes fifteen seconds and it is the single cheapest fix for adhesion problems I know.
Check price on Amazon | Check price on Amazon
Step 4: Match the Adhesion Surface to the Material


A textured PEI spring steel sheet is the upgrade I recommend to almost everyone, because it sticks to PLA and PETG straight off the bed with no glue or tape and it flexes to pop parts free once it cools. For a smooth glass bed printing PLA, a thin layer of a disappearing purple glue stick still works great and it is cheap enough to reapply every print without thinking twice about it. Blue painters tape made for 3D printing gives a slightly rough, forgiving surface that is handy for ABS or for a printer whose bed material you are not sure about yet. If you are printing something fussier like PETG, TPU, or polycarbonate, a dedicated bed adhesive made for those materials keeps the part locked down during the print and still releases cleanly once the bed cools. Pick one surface treatment for the material you are printing and stick with it consistently, rather than mixing methods and wondering which variable changed.
Check price on Amazon | Check price on Amazon | Check price on Amazon | Check price on Amazon
Step 5: Slow Down and Warm Up the First Layer
Your first layer should never run at the same speed as the rest of the print. I drop first layer speed to about a third or half of normal print speed, which gives the plastic time to actually bond to the plate instead of getting dragged across it. Bed temperature matters just as much. PLA on a textured PEI plate usually wants a few degrees warmer than PLA on a smooth plate, because the texture reduces contact area and pulls heat away faster. If a print keeps lifting at the corners specifically, try bumping bed temperature up five degrees before you change anything else. A slightly wider first layer line, around 120 to 125 percent of your nozzle diameter, also pushes a bit more plastic into the surface for extra grip without affecting layers above it.
Step 6: Give Tricky Prints a Brim
Small footprints, tall thin parts, and anything with sharp corners are the prints most likely to peel up mid print even with a perfectly clean, level, warm bed. A brim, which is just extra flat plastic printed around the base of the part, gives the print more surface area to grab onto and resists warping at the corners. I default to a 5 to 10mm brim on any miniature base, any tall vase mode print, or any part with a footprint smaller than about an inch. It peels off in seconds with a scraper once the print is done and it costs almost nothing in filament or time. A basic 2 or 3 line skirt around every print is also worth keeping on by default, since it primes the nozzle and gives you an early visual check that the first layer is actually going down evenly before the real part starts printing.
Common Mistakes That Wreck Adhesion
Changing more than one variable at a time is the biggest one. If you adjust Z offset and bed temperature and switch to a new glue stick all in the same print, you will never know which change actually fixed or broke it. Chasing a lifting print by cranking bed temperature way up is another common trap, since past a certain point it just softens the plastic without improving the actual bond. Reusing the same dirty glue layer for print after print is a slow leak too, since dust and old plastic residue build up and quietly reduce grip over weeks. Last one: ignoring drafts and cooling fans blowing across the bed. A window AC vent or a house fan aimed at the printer will cool one side of the first layer faster than the other and cause uneven warping that looks like a leveling problem but is not.
Pro Tip
Keep a small notebook or notes file with the bed temperature, Z offset, and adhesion method that worked for each filament brand and color you use. Different pigments in the same PLA line can behave differently on the same plate, and having last print's working numbers on hand saves you from re-solving the same puzzle every time you switch spools.
That's Tutorial Tuesday
Hope that levels up your next print. If you would rather we handle it, the studio does custom printing, painting, and engraving on the commission page. New tutorial next Tuesday.
Some links in this post are affiliate links. Prices stay the same for you, I earn a small commission if you buy through them.