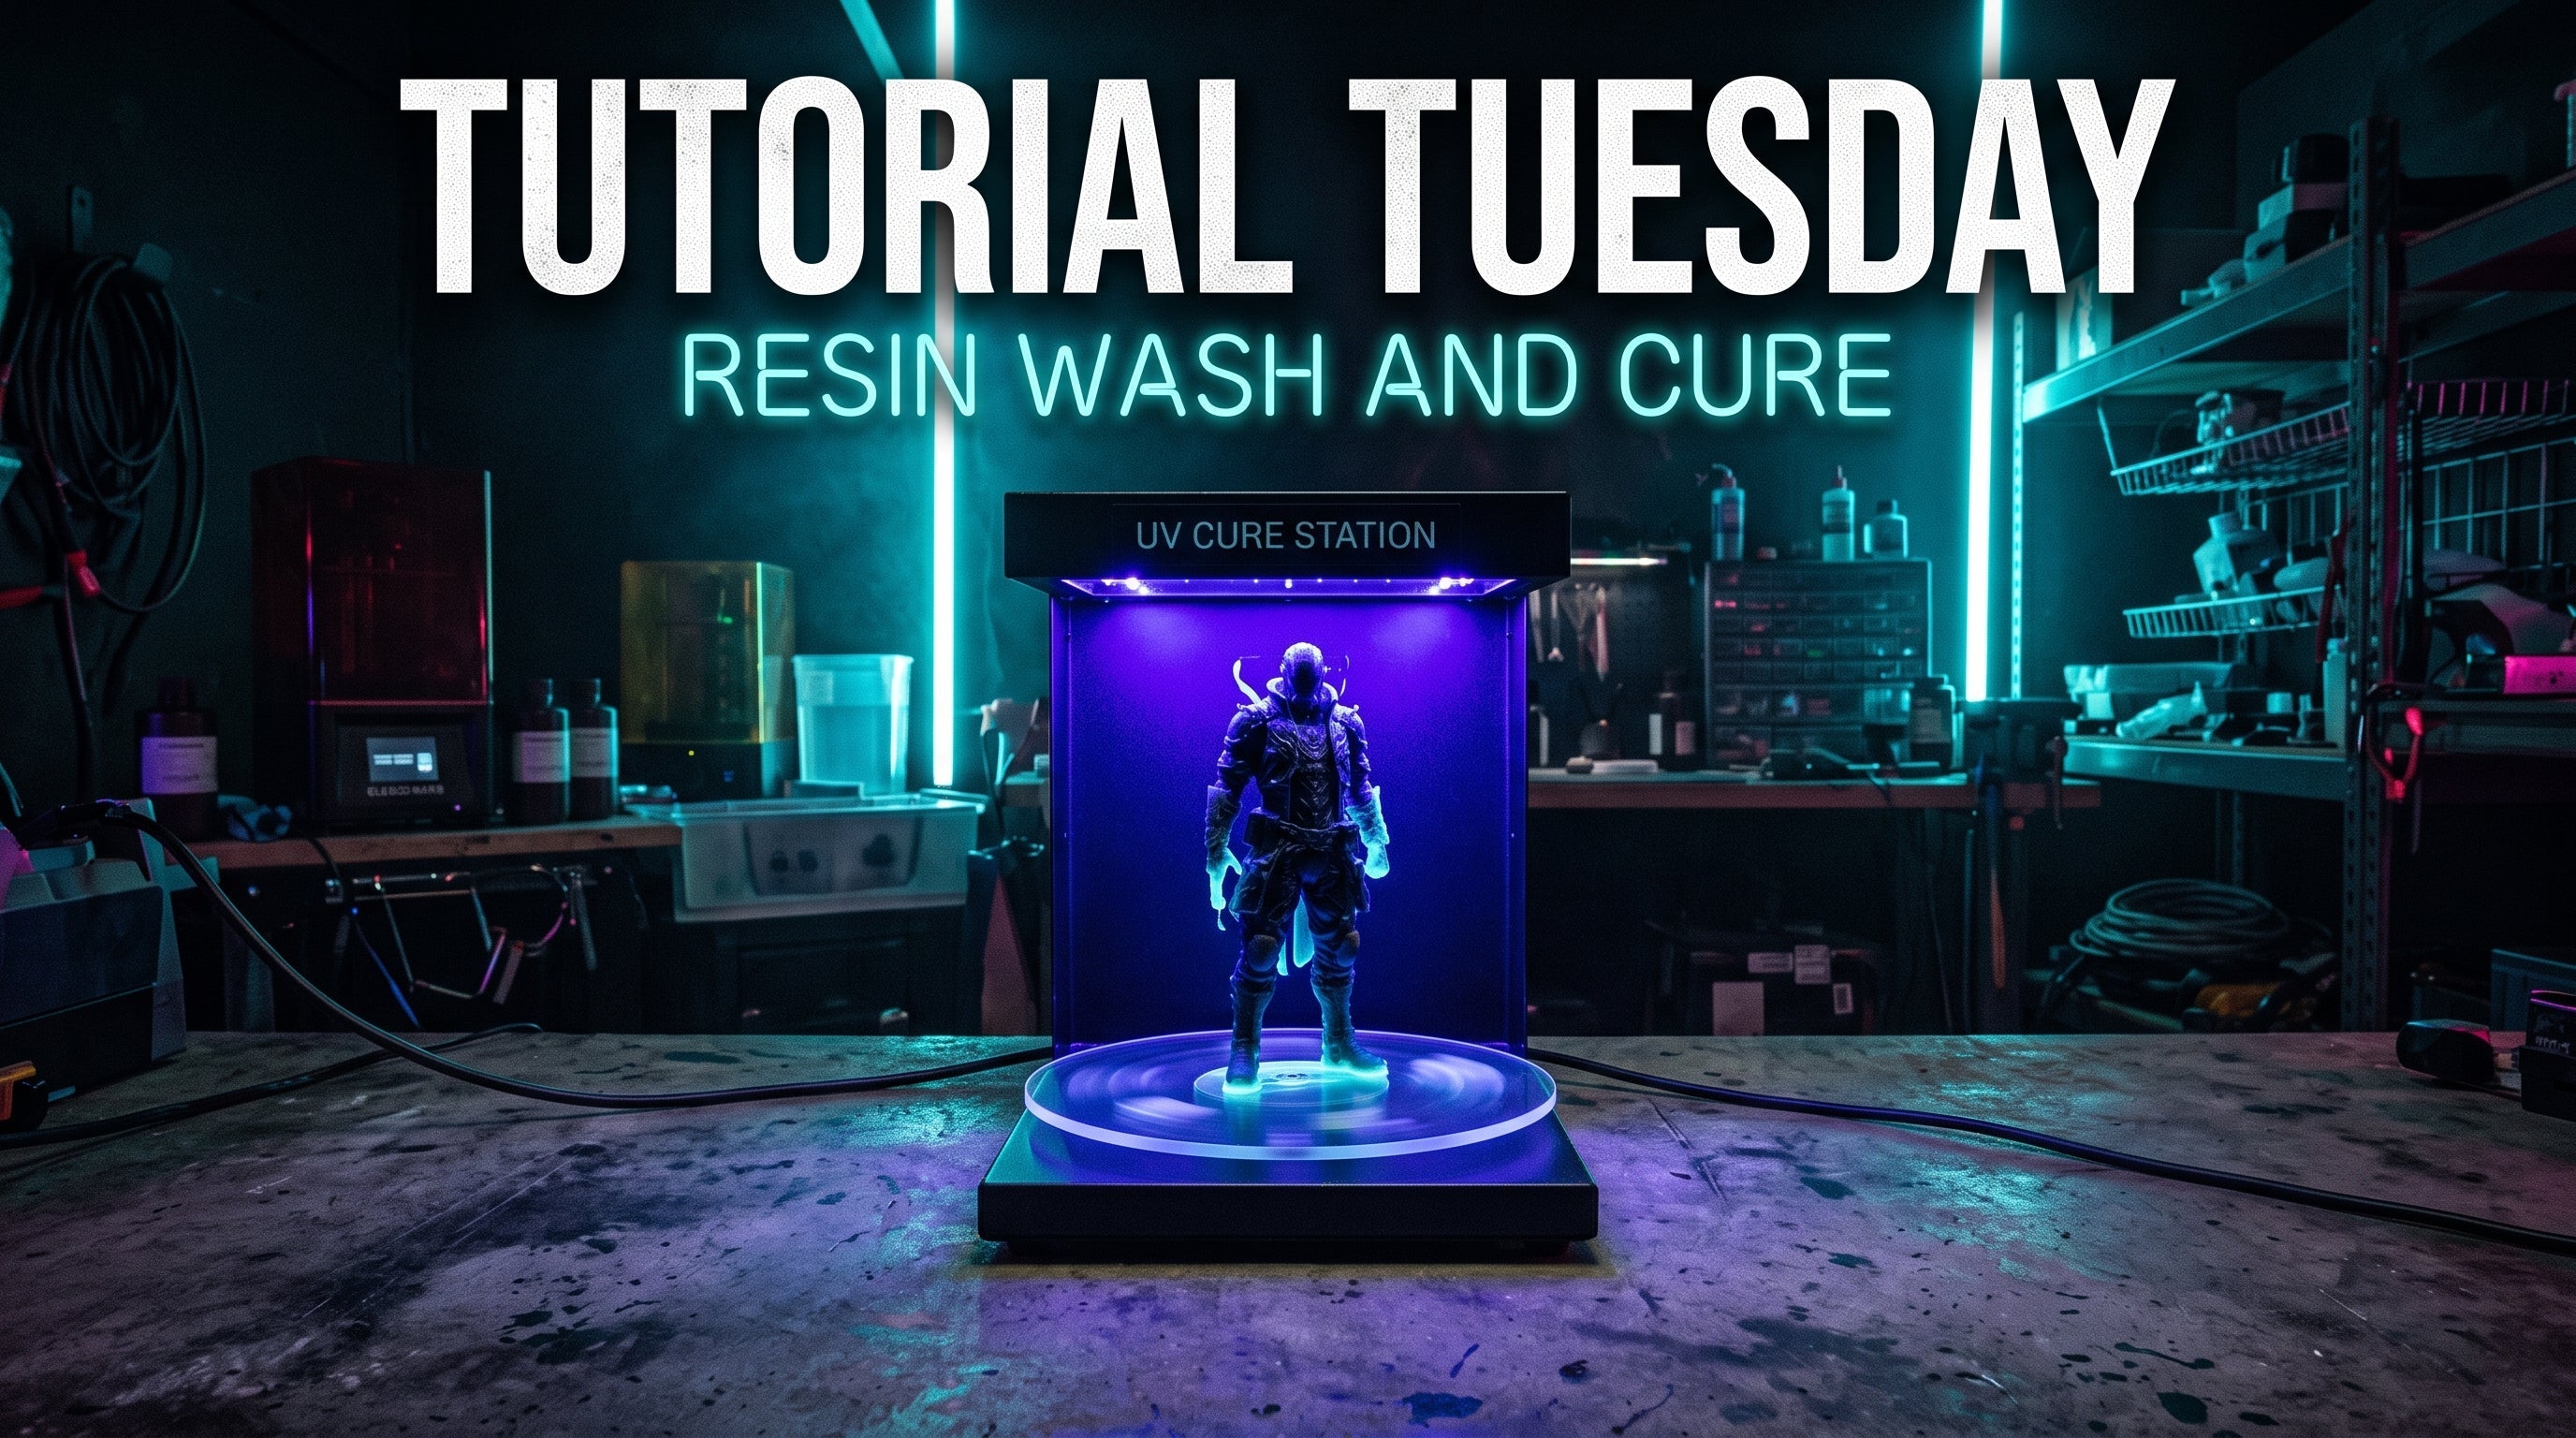
Resin prints do not come off the build plate finished. Every print you pull from the vat is coated in liquid photopolymer that is still reactive, skin-irritating, and will stop paint from adhering properly. The wash and cure steps are where you complete the process, and getting the timing right is the difference between a rock-solid, paint-ready piece and one that stays tacky, cracks days later, or falls apart the moment you try to prime it. This guide covers the timing, tools, common mistakes, and the pro shortcuts I use running three resin printers in this studio daily.
Why Wash and Cure Are Not Optional
Photopolymer resin only partially cures inside the printer. The UV light source in your machine does enough to solidify each layer so the print holds its shape through the build, but the surface and interior remain incompletely polymerized when the build plate finishes its final lift. That uncured resin is a skin and eye irritant, bonds poorly to primer, and can leach out over time, leaving sticky patches or causing delamination weeks after you thought the print was done. The wash step removes that surface liquid resin; the cure station completes the polymerization reaction using concentrated 405nm UV light, hardening your print from the outside in. Skip the wash and your paint will peel. Skip the cure and your print will snap along layer lines under the lightest pressure. Rushing either step leaves soft spots and residue in recessed areas that will haunt you at the painting stage.
What You Need Before You Start

Gather these before you pull a single print off the build plate. A dedicated wash and cure station is the single biggest upgrade you can make to your resin workflow. I run the Elegoo Mercury Plus V3.0 in this studio and it handles everything from tiny minis to large-format Saturn-sized prints without complaint. Alongside the station you need 99 percent isopropyl alcohol (IPA) or a resin-specific wash solution, a box of disposable nitrile gloves (wear these every single time you handle uncured resin or fresh prints without exception), a respirator rated for organic vapors because IPA fumes accumulate fast in a closed workspace, and UV-blocking safety glasses since your cure station emits 405nm UV light. A well-ventilated area is not optional when working with liquid resin or IPA.
Shop at Elegoo | Check price on Amazon | Check price on Amazon | Check price on Amazon
The Wash Step: Timing by Print Size
Remove your major support structures before washing while the print is still slightly flexible from the build plate; they snap off much cleaner now than they will after the full cure. Lower the print into the wash station and time your wash by size: tiny prints and minis under 40mm get 2 to 3 minutes, small to medium prints between 40mm and 120mm get 3 to 5 minutes, and large prints over 120mm need 5 to 7 minutes with a rotation halfway through so the IPA reaches every surface. Hollowed prints need 1 to 2 extra minutes to let the wash circulate inside the cavity. The two-stage method makes your IPA last twice as long: use a first container of spent IPA to strip the bulk of the resin off, then a second container with cleaner IPA for the final rinse. If your station has agitation, use it for standard prints but disable it when washing ultra-fine detail work with sub-1mm spires or very thin support contact points, since the current can fracture them.
After the Wash: Air Dry Before You Cure
This is the step that trips up the most people. Let the print air dry completely for at least 5 minutes after the wash before placing it anywhere near the cure station. If you cure while the surface is still wet with IPA, the alcohol traps under the surface layer and causes permanent whitish cloudiness or micro-cracks that no amount of sanding or repainting fixes cleanly. Hold the print up to a bright light and check recessed areas like eye sockets, engraved lettering, and panel lines for any cloudy white residue. If you see it, dip a soft brush in fresh IPA, scrub the area gently, and let it dry again completely before you proceed. Use this drying window to remove any remaining support structures you left on during the wash, since this is the last moment they come off with a clean snap rather than tearing the surface.
The Cure Step: Timing by Resin Type
Position the print with its largest or flattest surface facing the UV lamps and start the timer. At a 40W or stronger cure station, standard resin gets 2 to 3 minutes per side, ABS-like or tough resin needs 3 to 5 minutes per side since these formulas require more energy to reach their rated hardness, and water-washable resin only needs 1 to 2 minutes per side because it cures extremely fast and over-curing causes brittleness and yellowing. Flexible or rubber-like resin must follow the manufacturer spec exactly since over-curing permanently destroys the flex. Always rotate the print 180 degrees and run a second exposure for the back face. For prints with deep undercuts, like the inside of an open helmet or the back of a long cloak, prop the print at a 45-degree angle for a third short exposure of 1 to 2 minutes so the UV can reach the shadowed areas. If a hollow interior is fully enclosed and you cannot expose it to UV, plan a small drain or vent hole at the base during modeling, otherwise the liquid resin inside that cavity stays uncured indefinitely.
Six Mistakes That Ruin Resin Prints
These are the six problems I see most often, and every one of them is completely avoidable. First, curing before the surface is fully dry causes permanent IPA cloudiness you cannot sand away. Second, using spent IPA that has turned orange or dark amber does not clean the print; it redistributes dissolved resin back onto the surface, and you need to replace it. Third, curing in direct sunlight is inconsistent and uncontrolled; a station gives you repeatable, timed results. Fourth, only curing one side leaves the back of your print soft and under-cured. Fifth, over-curing water-washable resin even by one extra minute can make it brittle enough to chip on the edges; start at 60 seconds and add time only if the surface still feels undercured to the touch. Sixth, leaving support structures attached through the full cure risks bonding them permanently to the model surface, making clean removal impossible without damaging the print beneath them. Eliminate these six habits and your reject rate drops significantly.
Pro Tip: Warm IPA Washes Twice as Fast
IPA dissolves uncured photopolymer much more effectively at room temperature or slightly above it. In a cold garage or winter studio your IPA may be sitting at 10 to 15 degrees Celsius (50 to 59 Fahrenheit), and at that temperature it is noticeably slower at pulling resin off the surface. The fix costs nothing: before you start your print, set your sealed IPA container in a bowl of warm tap water for 10 minutes. You want the IPA to reach around 25 to 30 degrees Celsius (77 to 86 Fahrenheit). Warm IPA at that range cuts wash times nearly in half for most medium prints and leaves surfaces far cleaner than cold IPA running for twice as long. Do not use direct heat sources or open flames to warm IPA since it is flammable. Warm tap water in a bowl is all you need. Keep the lid on your IPA container between washes to reduce fume buildup and keep the solution cleaner for longer between changes.
That's Tutorial Tuesday
Hope that levels up your next print. If you would rather we handle it, the studio does custom printing, painting, and engraving on the commission page. New tutorial next Tuesday.
Some links in this post are affiliate links. Prices stay the same for you, I earn a small commission if you buy through them.