
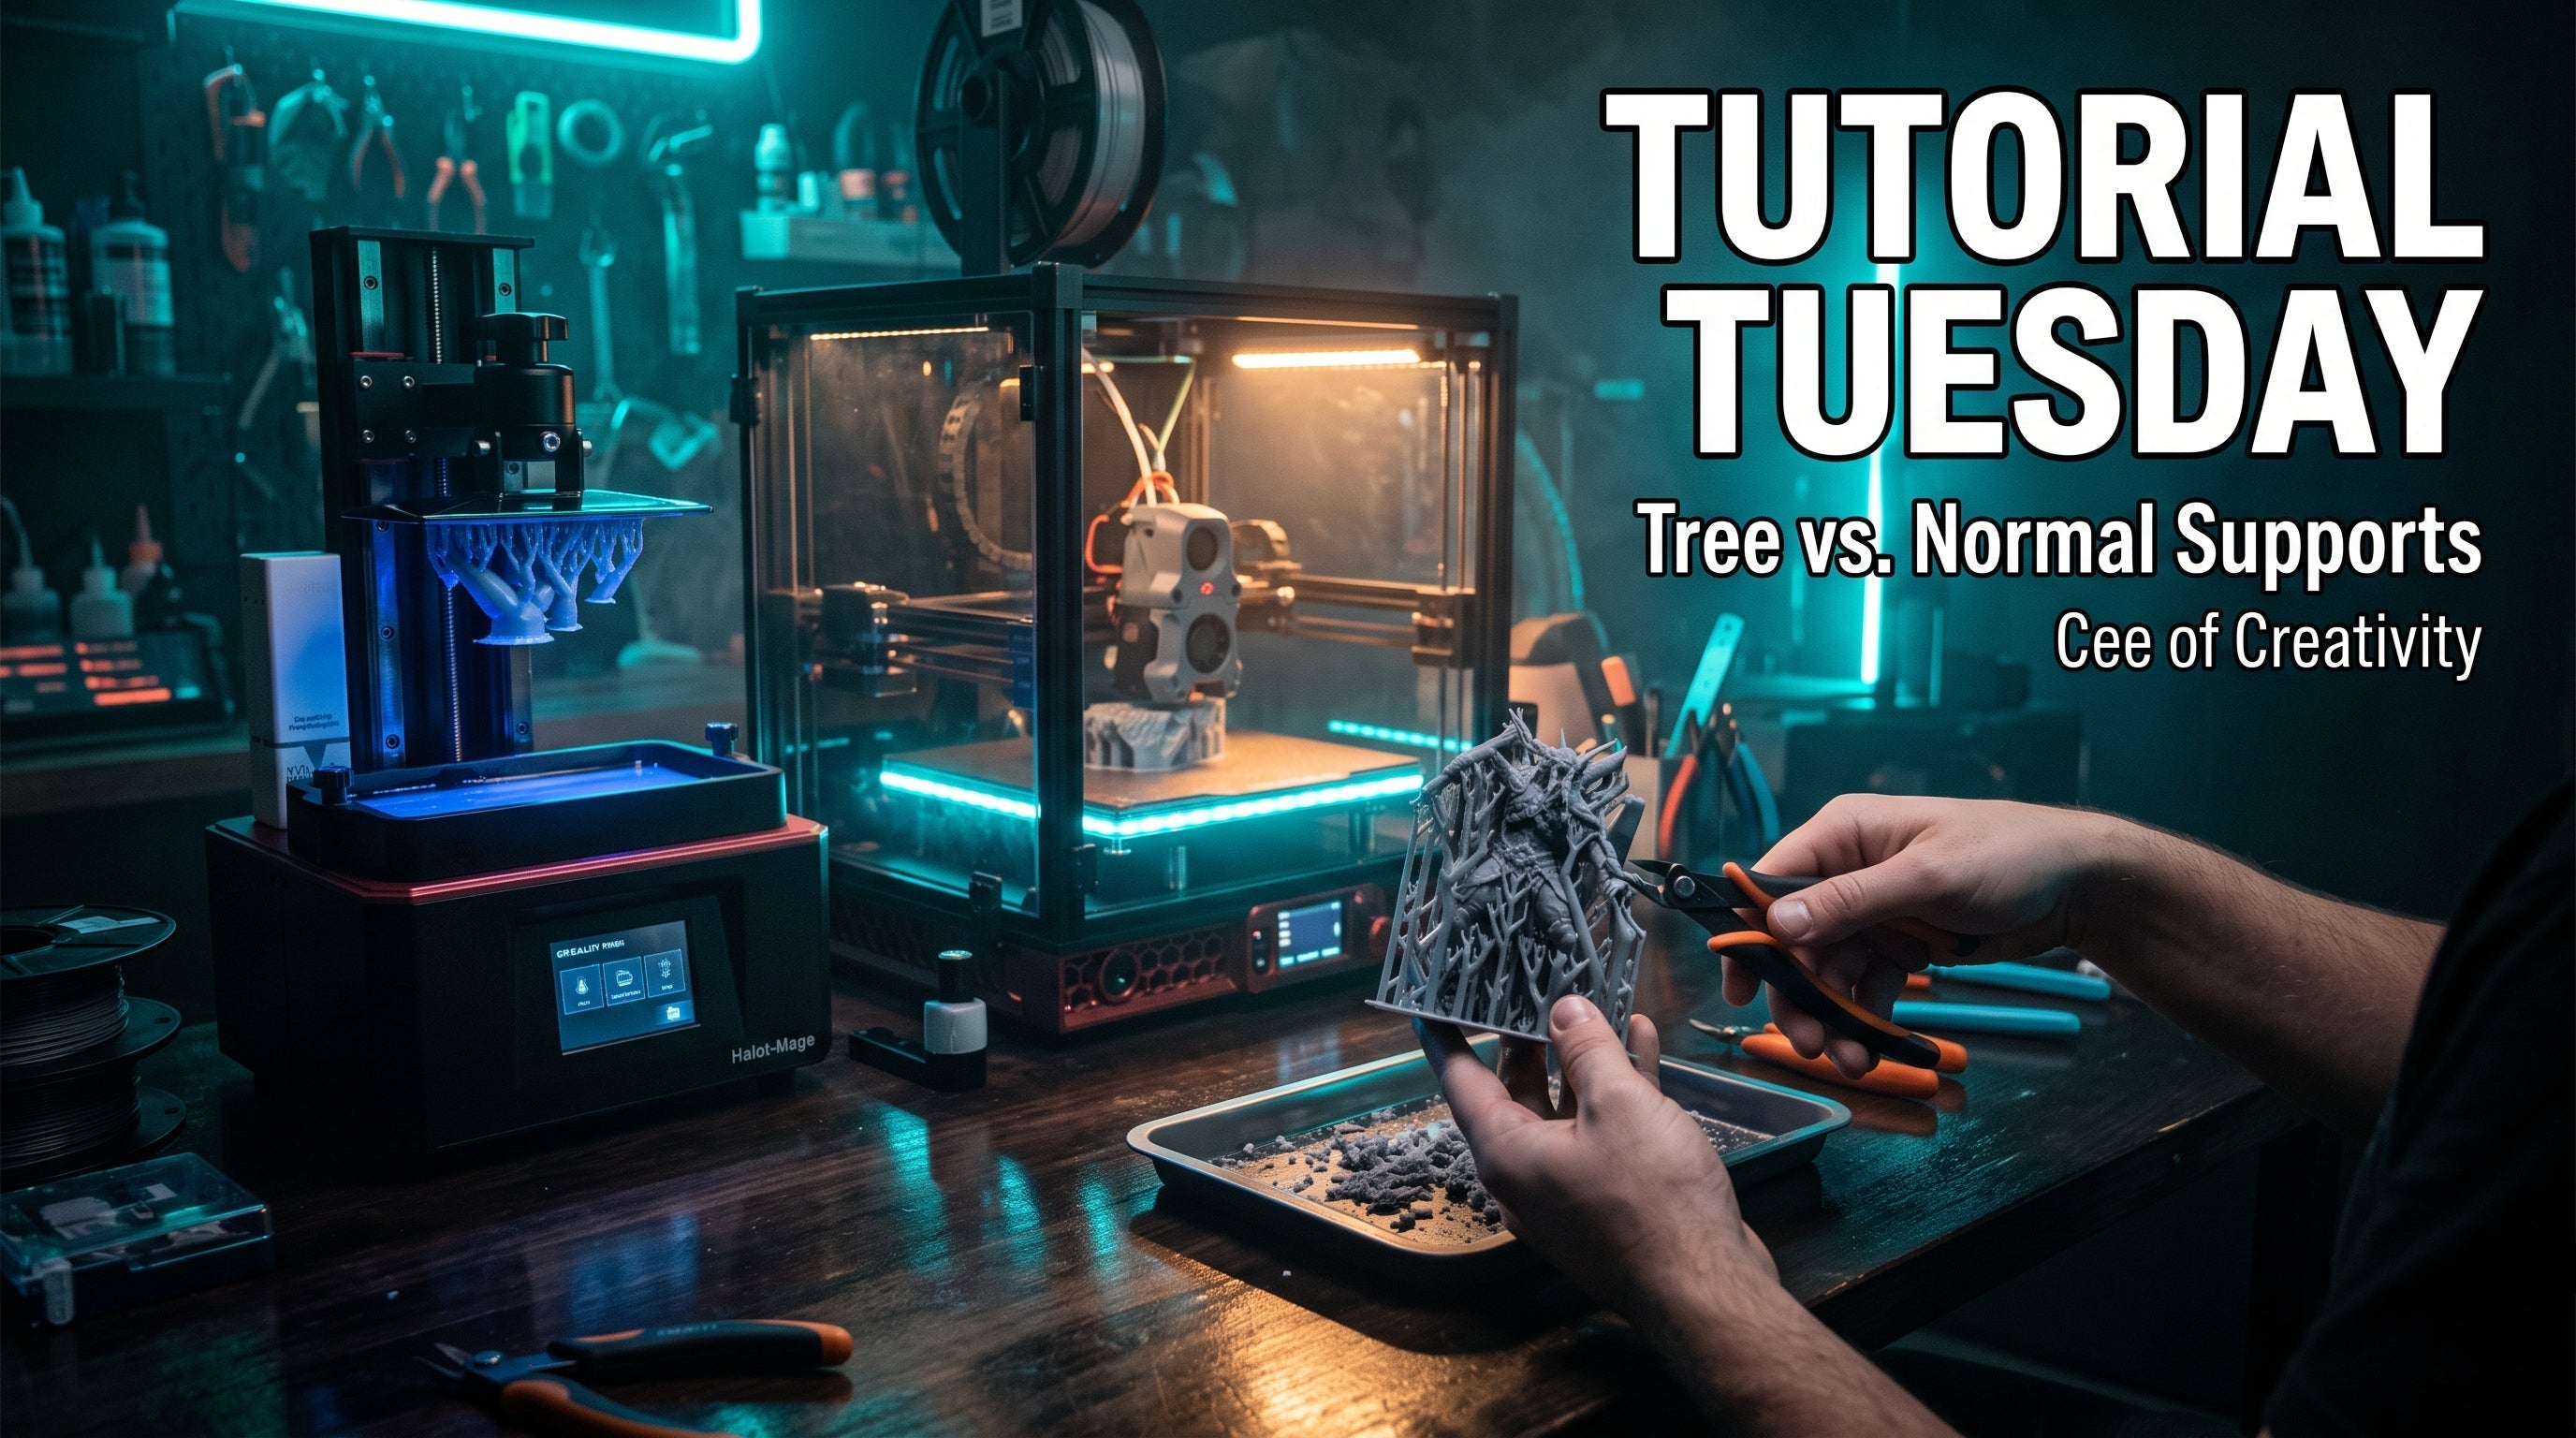
Supports are one of the most misunderstood features in any slicer, and getting them wrong wastes filament and leaves you sanding for an hour. Bambu Studio and OrcaSlicer both give you two distinct support systems to choose from: normal supports and tree supports. Once you understand how each one works and which settings actually matter, you will know exactly which type to reach for and how to dial it in for a clean result every time.
Normal Supports: The Reliable Choice for Flat Overhangs

Normal supports build a grid directly below any overhang that exceeds your threshold angle, which is typically set to 45 degrees. The grid grows straight up from the build plate or the model surface, whichever is closest to the overhang. Because the structure is predictable and uniform, it slices quickly and gives you a solid base under wide, flat surfaces. If you are printing a bracket, a flat-bottomed figure base, or anything with a horizontal shelf sticking out, normal supports are the right call. The main tradeoff is surface contact: the top of a normal support leaves a grid texture on your model at the contact points, so you will often need to do some light sanding there. Using a quality PLA with consistent diameter keeps print behavior predictable, which helps the supports release more cleanly and reduces how much cleanup you need after.
Tree Supports: Minimal Contact for Miniatures and Complex Geometry
Tree supports generate branching columns that reach from the build plate up to the specific spots that need support, rather than building a solid grid beneath everything. The contact area is smaller by design, which means you get less surface scarring and the supports tend to snap off more cleanly. This makes tree supports the right choice for miniatures, action figures, busts, and any print with curved overhangs where you want a clean surface to paint. In Bambu Studio and OrcaSlicer, tree supports come in two sub-modes. Organic mode branches out freely and minimizes contact points, which works great for most miniature work. Snug mode keeps the branches closer to the model walls and adds stability for taller prints that might wobble mid-build. Start with Organic for prints under 100mm tall and switch to Snug if thin columns keep failing before the model finishes.
The Three Settings That Change Your Results

Most people leave support settings at their defaults and then wonder why the supports either demolish the surface or leave the model sagging. Three adjustments fix most problems. Z Distance controls the gap between the top of the support and the bottom of your model. The default is 0.2mm. Raise it to 0.25mm or 0.3mm and the support releases much more easily with a slightly rougher supported surface. Lower it to 0.15mm only if your overhangs are drooping despite supports being present. Interface Layers are dense bridging layers placed right at the support-to-model contact point. Turning on 2 to 3 interface layers and setting the pattern to Concentric produces a much cleaner separation surface and is one of the highest-impact changes you can make. Branch Angle applies to tree supports only and controls how far the branches can lean. A value around 40 to 45 degrees is a solid starting point for PLA: rigid enough to hold but broad enough to save material on tall prints.
How to Remove Supports Without Damaging Your Print

Let the print cool to room temperature before touching the supports. Hot PLA is soft, and pulling supports off a warm print almost always drags surface material with it. Once cooled, use precision flush cutters to snip the support columns at their base, working around the model systematically rather than trying to yank everything off at once. For tree supports, grip a branch near the base and snap it sideways: it almost always breaks clean at the contact point. For normal supports, a thin palette knife or metal scraper slid along the interface layer will peel the grid away without digging into the model. Areas with tight geometry, like the underarms on a figure or narrow undercuts on armor, respond best to curved-tip tweezers or a dental pick rather than a larger tool. Precision flush cutters are the single most useful tool in your finishing kit and a good set will last through hundreds of prints.
Common Mistakes and How to Avoid Them
The most common mistake is using normal supports on organic models out of habit. If you are printing anything with curved geometry or fine surface detail, switch to tree supports. The second mistake is printing without interface layers enabled. Many default profiles skip them, and without interface layers the support grid fuses more tightly to the model, especially at higher temperatures. Always enable at least 2 interface layers. The third mistake is skipping the layer preview before sending the print. Your slicer can place supports inside hollow areas or between tight features where they cannot be removed without damage. Spend 60 seconds rotating through the preview and delete any misplaced blocks before printing. The fourth mistake is setting Z Distance too low when you first try a new filament. Every spool behaves a little differently, so start at 0.25mm with any new material and dial it in from there rather than starting at the minimum.
Pro Tip: Use Both Support Types on the Same Model
Bambu Studio and OrcaSlicer both let you paint supports manually onto specific areas of the model using the support painting tool. This means you can run normal supports under a large flat base where stability matters most and paint tree supports onto curved organic geometry where you need minimal contact area. The hybrid approach takes an extra few minutes of setup and often produces the cleanest result on complex character prints. To try it, go to your model's support settings, set the global type to tree, then use the support painting tool to block tree supports off the flat base and add manual enforcement where normal supports should land. After you do it once on a character model it becomes a standard step in your workflow, and the difference in surface quality is immediately obvious when you pull the supports off.
That's Tutorial Tuesday
Hope that levels up your next print. If you would rather we handle it, the studio does custom printing, painting, and engraving on the commission page. New tutorial next Tuesday.
Some links in this post are affiliate links. Prices stay the same for you, I earn a small commission if you buy through them.