
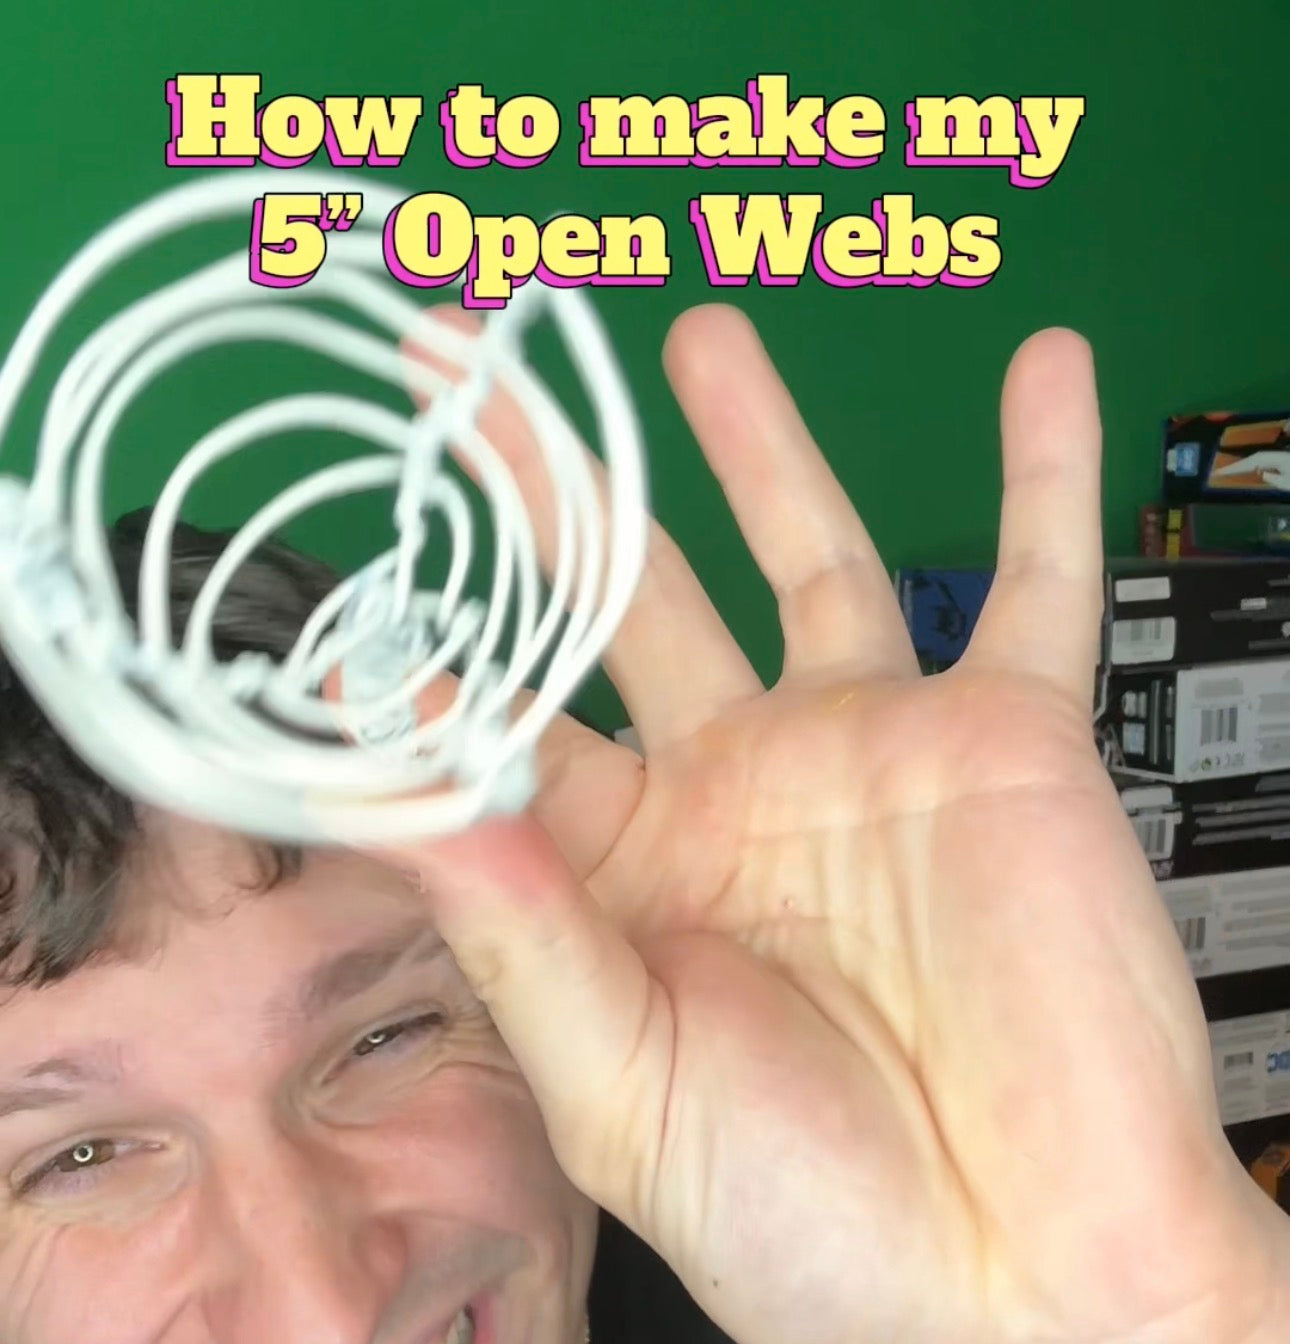

This is the exact process I use to make the 5 inch open style webs you see in my figure photography and my custom orders. One length of jewelry wire, four basic tools, and about ten minutes once you get the rhythm down.
This guide covers the open web. I make a few other web styles too, and each one will get its own guide, so this is part one of the series.
Prefer a printable version? There is a free PDF of this whole guide at the bottom of the post.
Heads up: the links below are Amazon affiliate links. If you buy through them I earn a small commission at no extra cost to you. It helps keep these guides free.
What you need
Four things off the bench, and every one of them is shown here exactly as it appears in the video.

This is the wire I use on every web. One spool lasts a very long time.

Any small flush cutter works. These are the ones I keep on the bench.

You measure and loop the wire around it, so a flat ruler beats a tape measure here.

The web gets built around it. Any standard pencil from the junk drawer is perfect.
Jewelry pliers and cutters kit (optional): If you want every tool in one shot, this kit covers the cutters plus pliers for tucking in stray ends.
How to make the 5 inch open web
Step 1: Measure out 7 inches
Grab the wire and the ruler. The finished web is 5 inches, but the twisting eats up length. My rule of thumb is to go 2 inches above the final size, so measure to the 7 inch mark.

Step 2: Loop it around the ruler and cut
Loop the wire around the ruler and cut at the 7 inch mark. Because the wire is looped, you end up with a doubled 7 inch length.

Step 3: Grab the pencil
A pencil is the best base I have found for a 1/12 or 1/10 figure hand. The loop it creates ends up gripping a figure hand just right.

Step 4: Loop the wire around the pencil and pinch
Take your looped wire, wrap it around the pencil, and pinch it where the wires cross. That pinch point is where the web will go around the hand.

Step 5: Twist the stem
Hold the pinch and start twisting the wire around itself. This builds the twisted stem of the web.

Step 6: Stop at the open V
Stop twisting when you have about a quarter of open wire left at the top, opening up into a V. Those are your first two prongs.

Step 7: Hook and pinch
Take the loose wire, loop it into the loop, and pinch it closed. You now have a hook.

Step 8: Wrap the hook
Wrap the tail around the hook so that bare portion of wire is covered. No shiny joints showing.

Step 9: Knot your way up
From there, work upward and make knots in the web as you go. Just keep wrapping around.

Step 10: Bigger loops back down
Once you reach the top, go back down in bigger loops, then come back up the same way. This is what creates the open web look.

Step 11: Cut a third prong
Cut a fresh length of wire for the third prong.

Step 12: Attach it the same way
Same move as before: hook it into the web, loop it around, and pinch it tight.

Step 13: Weave over, under
Now the fun part. Keep the three prongs separated and go around each one. Over, under, over, under.

Step 14: Use your thumb as the guide
Press your thumb into the wire to hold the shape, then pass under the next prong. Your thumb keeps the spacing even.

Step 15: Close down the open wire
Take the open portion of wire, close it down onto the web, and pinch it in place.

Step 16: Wrap and cut
Wrap it around that wire all the way, then take the cutters and cut both loose ends.

Step 17: Done. Check the size
The open web is basically done. Hold it against the ruler and it should land right around 5 inches.

That is the full build. If your first one looks a little rough, that is normal. The knots and spacing smooth out fast, usually by the second or third web.
In the next guide I will go over how I paint them, from primer to the finished color. After that we will work through the other web styles, so keep an eye on the How-To section.
[ FREE DOWNLOAD ]
Take this guide to the workbench
Enter your email and the printable PDF version unlocks right here. You will also get new how-to guides when they drop. No spam, unsubscribe anytime.
Questions about a step? Leave a comment below and I will answer it. And if you would rather have one made for you, painted and ready to pose, start a commission or browse the shop.